|
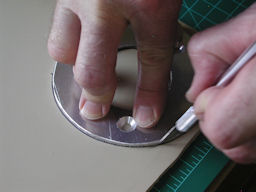
- Place the metal disk on the rubber sheet and use it as a template to cut out the rubber disk.
- Mark the positions of the screw holes.
|
|
|
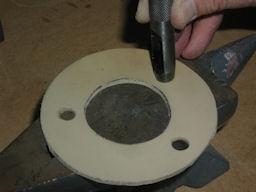
- The easiest way to make the screw holes in the rubber disk is to use a hollow punch. But, you can use any number of other methods--knife, drill, various x-acto blades, etc.
|
 |
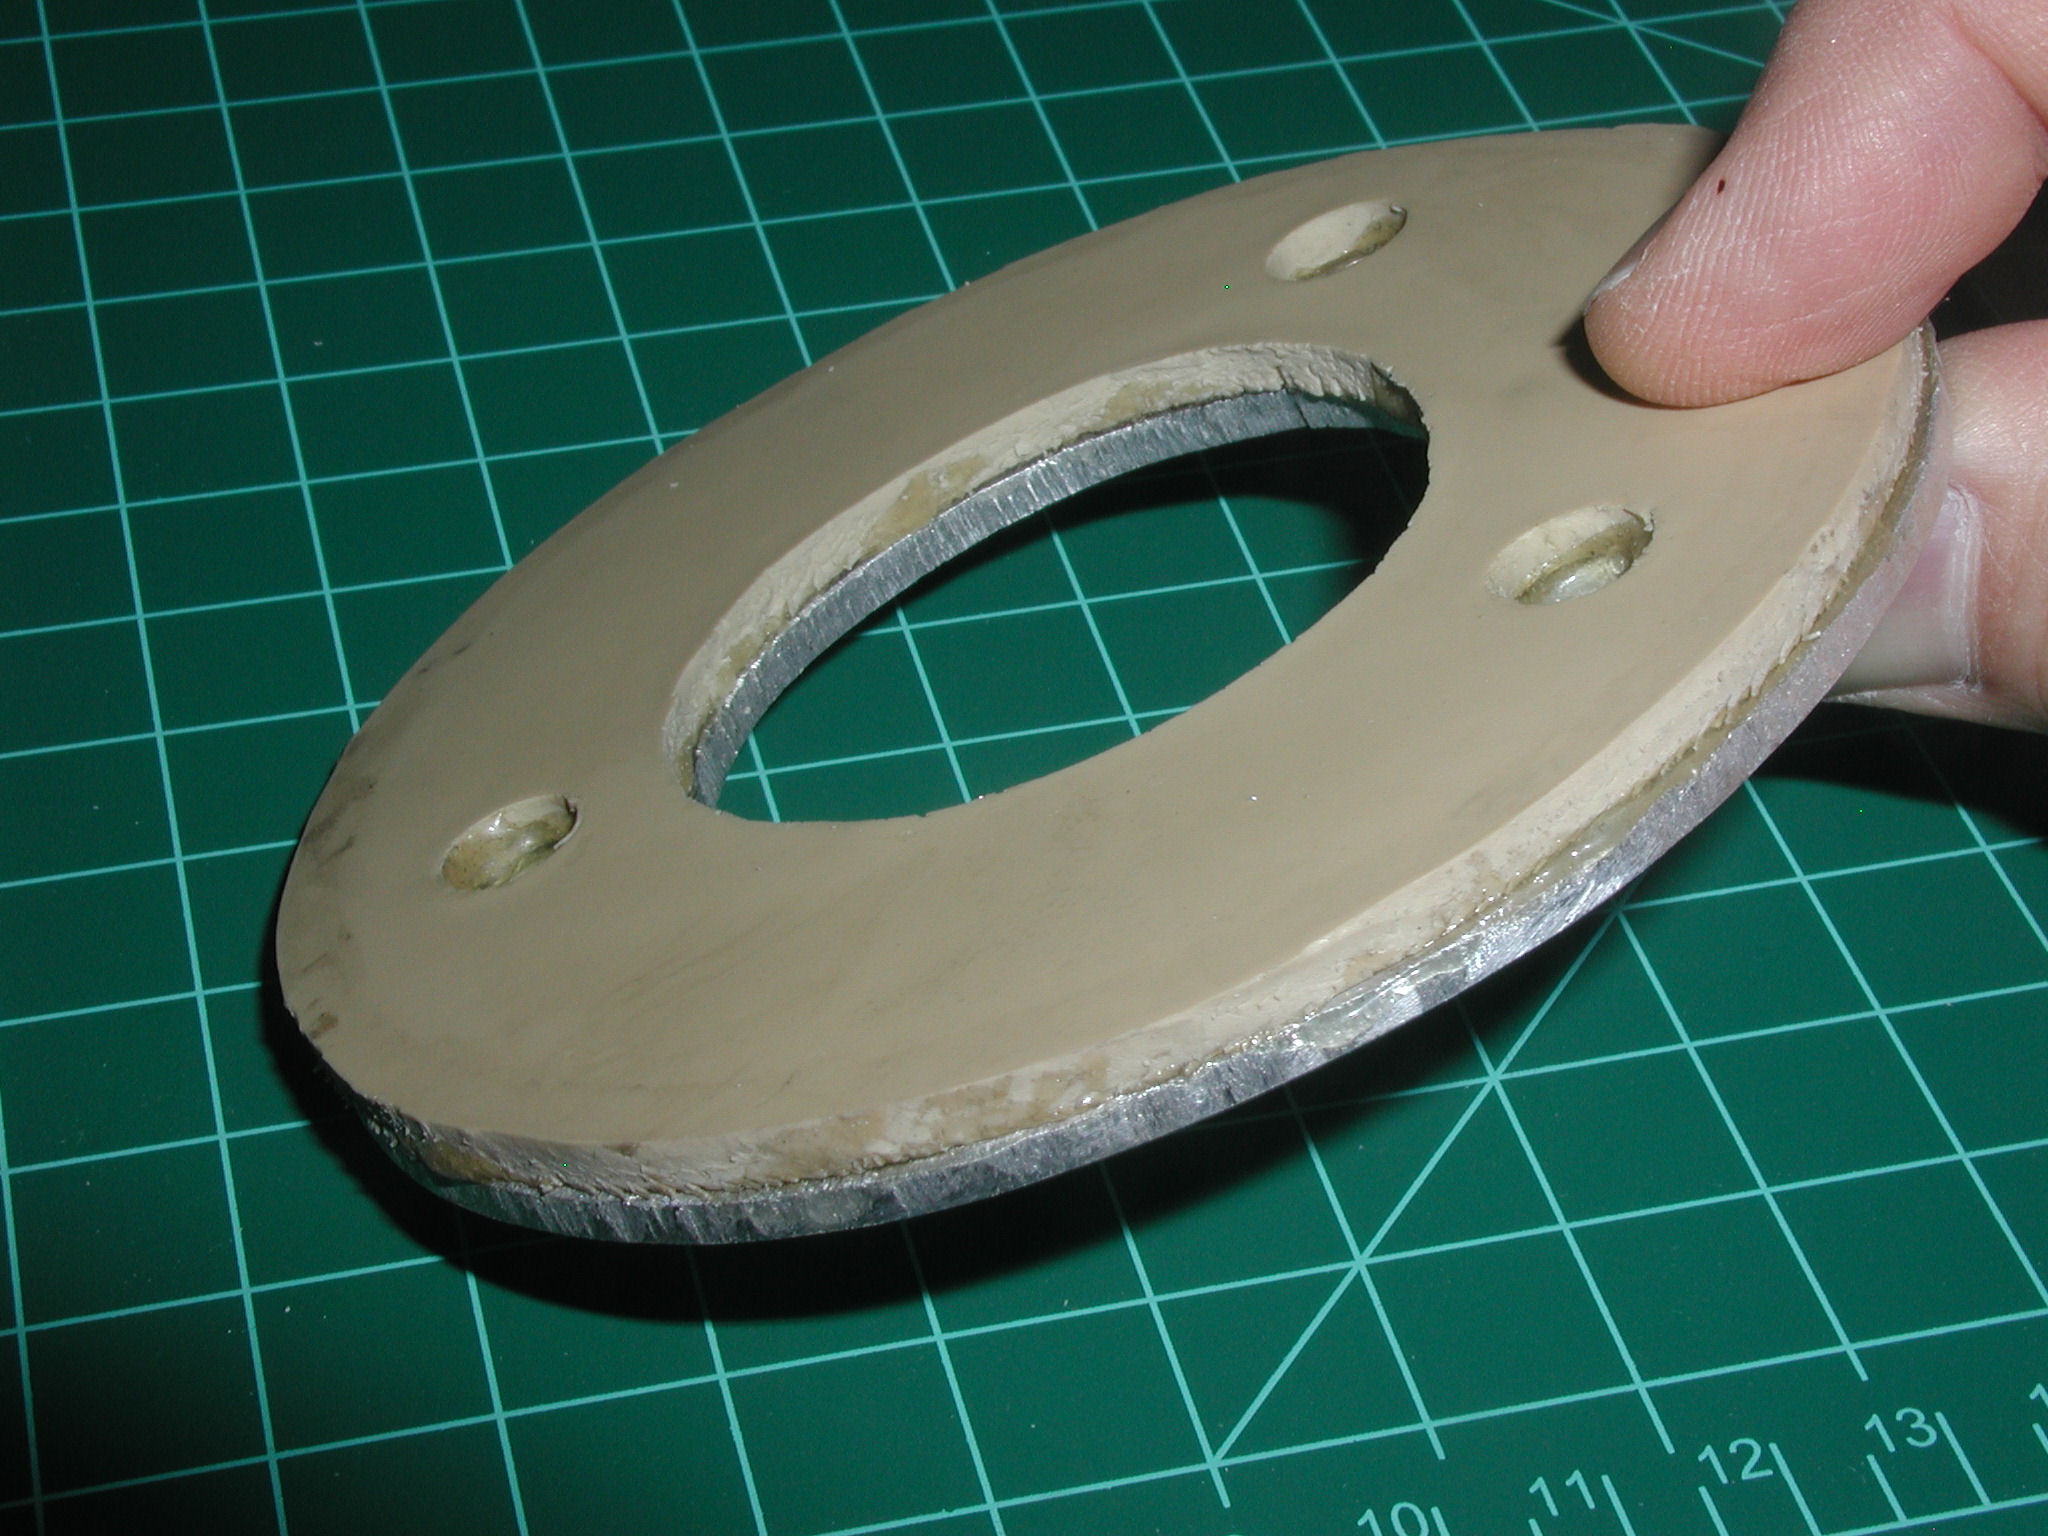
- Glue the rubber and metal disks together, with the rubber going on the countersunk side of the metal. Be careful to align the holes. Follow the specific directions for surface preparation, application and drying time. It's important that the edges at the inner circumference, especially, be firmly attached so that the rubber face does not peel off under pressure.
|
 |
-
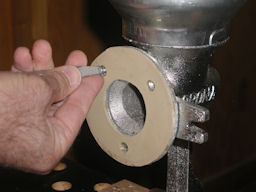
Attach the assembly to the mill using the three original screws.
|
 |

